
As of recent, my favorite store by far has to be Roundabouts. It is this amazing consignment store overflowing with tons of great finds. I have been purchasing, deconstructing, and reconstructing dresses, shirts, and lingerie all in preparation for their brand new roles. Its been a great week!!!
Today my project was to make the mini top hat that will go with the Nickers and Shrug (Lovechild Boudoir) that our model could wear on one of the sets during the shoot. I have ordered the wigs and most of the props, which all should arrive on Monday. So until those things come in I figured it would make good sense to get the "crafty" projects out of the way. I have a feeling the sewing is going to be much easier.
I tried to pull out my camera to document the making of this little hat, but found myself consumed by a project that was a bit more intense to make than the video instruction led me to believe. The woman who is demonstrating the construction makes it look super simple, but I am quite sure that it wasn't her first little gem. She is really talented. :)
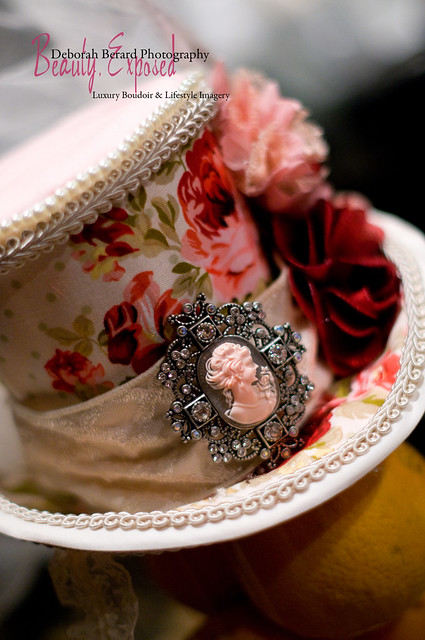
Me being, well... me. I went well beyond what she demonstrated by adding some felt padding to the top of the hat to make it appear a bit more dome shaped. Then some tulle, florals, and a broach, which I am sure is what made my project quite the... well, project! :)
You can find her and her video HERE on YouTube.
But I can't lie, it was such a blast to make! I love when I can take the time to mix and match colors and textures. I had a hard time deciding on embellishments. With this being my first attempt ever I was going crazy trying to stay on track and not get carried away. I could have made another 3-4 hats easy with all the amazing fabric choices.... Thank you Hobby Lobby.
First few images are of my choices and just how I started to construct the hat. As it grew more tedious I forgot to take more pictures so the next set you will see are of the final product.
Enjoy...
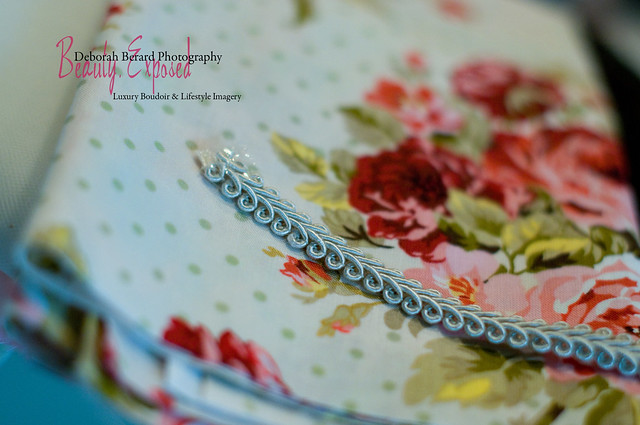
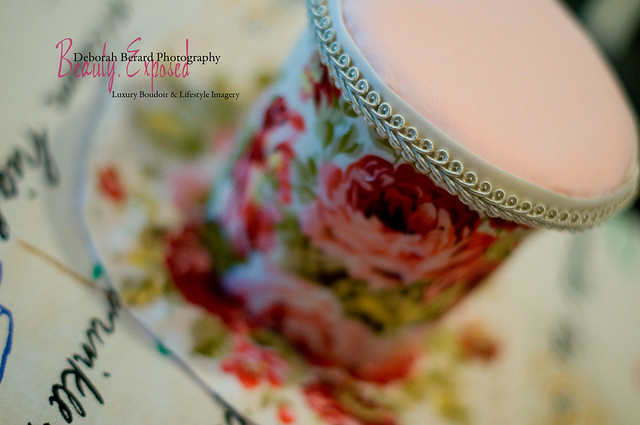
I must have searched hundreds of fabric bolts to find the floral I wanted in the right colors.

This is the body of the hat. You can see the padded top. I also added extra ribbon over the bias, and later I added a pearl strip to the top as well.
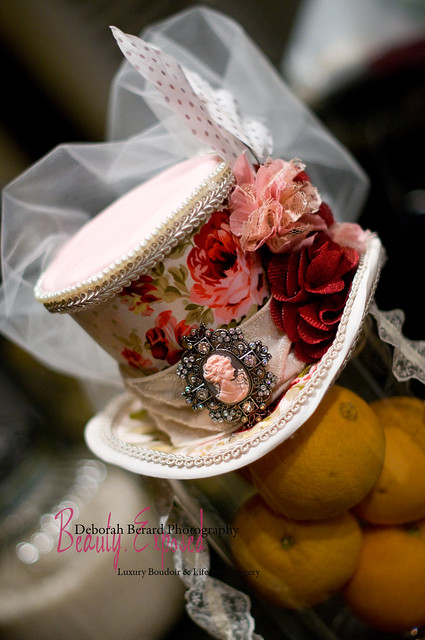
And here she is.... I think it turned out really nice for my first attempt. Little over achiever here. :)
I am in love with the little lime green polka dots on the fabric. I was lucky and came across these cream feathers with pink polka dots on them too. Great match! :)
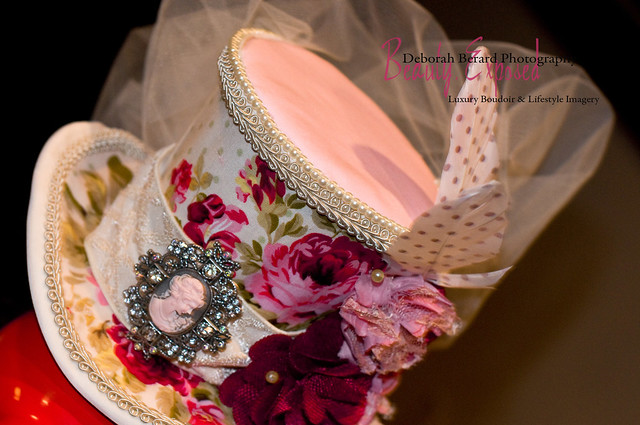
This is a back view of the hat. I plan on taking more pictures to show the size and colors a little better.


No comments :
Post a comment ( 0 )